


Start with a very straight board with as few blemishes and knots as you can find. Sand it to remove splinters and rough spots including markings. My husband does this part for me; he likes to put a bevel on the edges. Paint your board with a base coat of house paint any color or finish you choose, or use acrylic paint; I suggest you use a light color and roll it on or use a sponge brush. A bristle brush leaves little ridges that you will fight with later.

I planned out my design on paper first using the same proportions as my board. Here is what mine looked like for the ones I made above. I painted my background colors, and then trace my design in using chalk which can be easily removed if you make a mistake. I painted in the rest of the design and added the measurements.


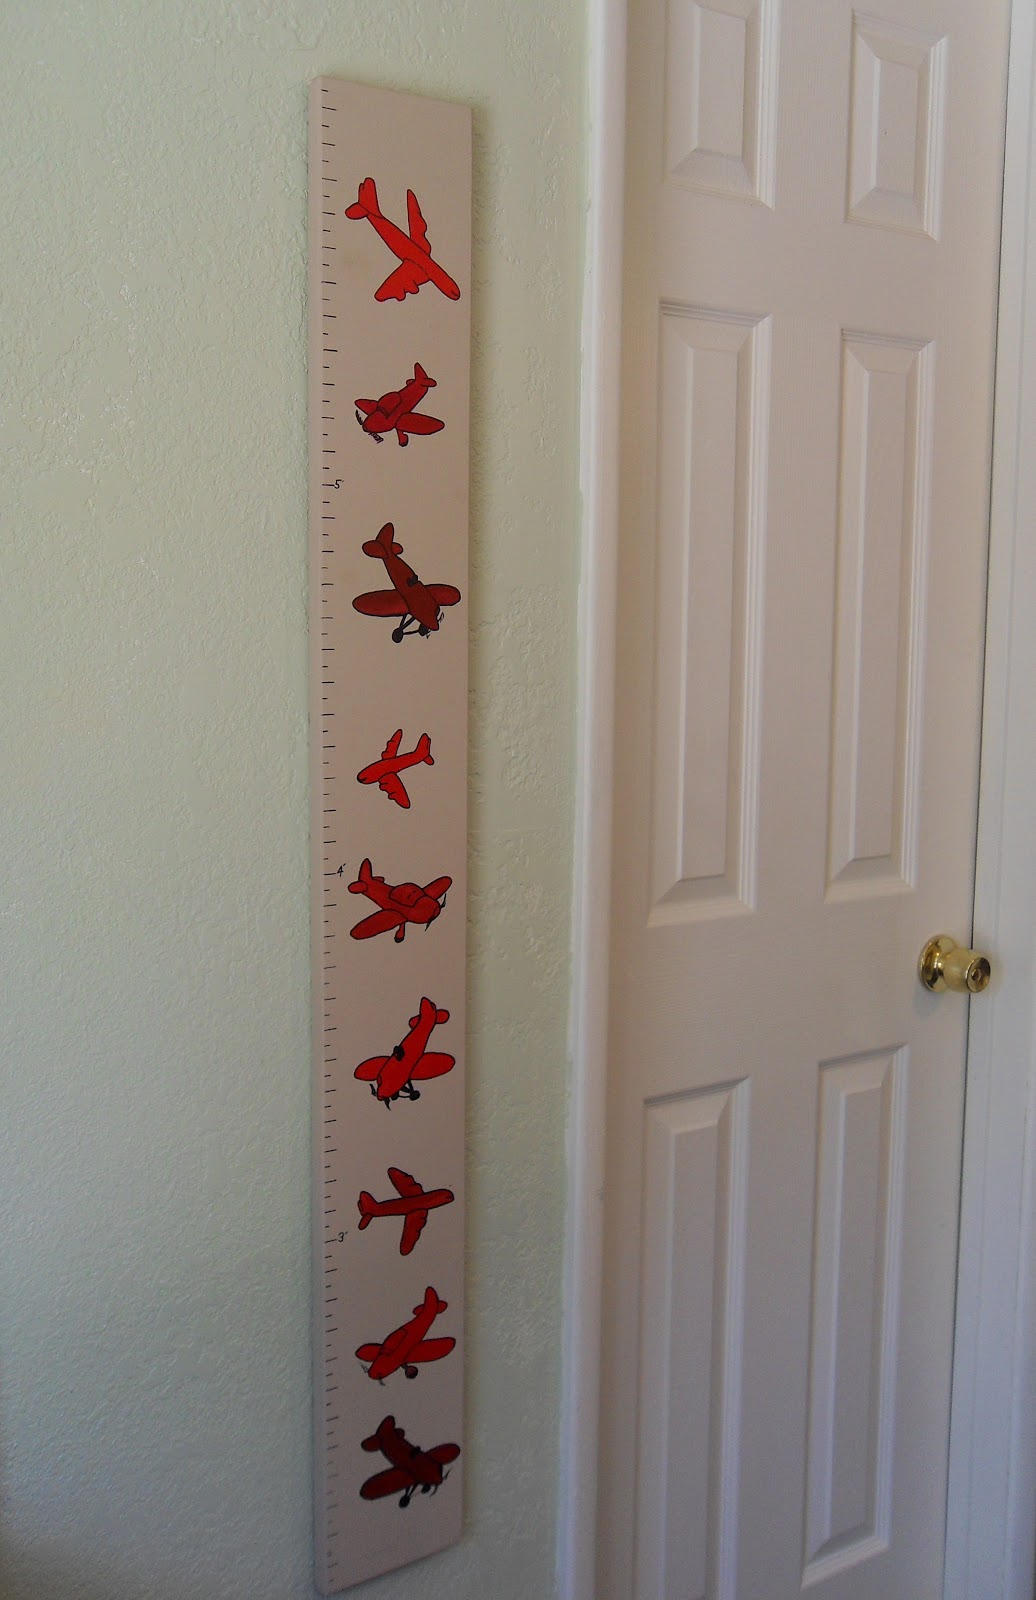
Below is a less complicated and faster way to make one of these Growth Chart Boards with red airplanes as the theme.

For this board design, I copied and pasted coloring book pages into a Word document program on my computer and proportioned them to the sizes I wanted. I printed and cut them out, and placed them on my board to decide where I wanted them. Some of the airplanes I flipped over so they would not all be going in the same direction. I could still see the outline of the airplane through the back of the paper, so I traced it with my pencil; then I numbered the prints as I removed them from the board on the side that would be up.

Using a soft lead pencil, I used the old school method of rubbing my pencil on the back of the print, placing it right side facing up on the board and tracing over the out line with my pencil. The pencil lead rubbed on the back of the print transfers the design. Use any method you like for the transfer. Stamps would also be an easy and fast choice for this airplane design, and would work for many themes; decoupage images, or gluing on thin wood cut outs that you can find at crafts stores would work too. These are easy to personalize with the child's name and birth date.

I like Liquitex professional acrylics because it is good quality; there are less expensive brands, but you may have to do extra coats and I think it’s worth the extra money for the time you will save. Use good artist brushes and paint in your designs.

When the paint dried I outlined my airplanes with a permanent sharpie. I taped down a measuring tape along the left side and marked the one inch and half inch measurements using a square to ensure straight lines.

I put tape on the backside of the square so the metal wouldn’t mark up my finished design. I numbered the three foot, four and five foot measurements.

On the back top, measure the exact middle from side to side and one inch down from the top edge. (You will find that your board is not exactly six inches, be sure to find the exact middle so it will hang straight) Mark these points with a pencil. Your hanger will line up on the side to side mark with the middle of the hanger at the cross mark down the one inch. This is important for accuracy when it is hung later. We use small screws instead of the nails that come with the hangers so they will not pull out.

At the bottom it is nice to finish off the board with adhesive felt or rubber stay put bumpers.
Include these instructions with your heirloom quality gift:
'To hang your Growth Board, measure up from the floor 6 feet. Subtract 1 inch from that measurement and that is where you will put your nail or screw to hang the Growth Board from.
Measure and mark the height of your child on the Growth Board with a pencil; to make it permanent, mark over the pencil mark with a permanent sharpie marker.'


What a nice and inexpensive gift, made with love, from Grandma and Grandpa!
*Join me for my link up party, Wow Us Wednesdays.*
Below is a link for transfer paper to transfer designs to wood, and links for growth charts. They are Amazon affiliate links and if you purchase through one of them I may make a small commission. Thank you for supporting this blog.
Below is a link for transfer paper to transfer designs to wood, and links for growth charts. They are Amazon affiliate links and if you purchase through one of them I may make a small commission. Thank you for supporting this blog.
These are so, so cute! What a fun idea. I wanted to invite you to link up at TGIF Linky Party (http://www.livinglifeintentionally.blogspot.com/2012/06/tgif-linky-party-35.html)
ReplyDeleteBeth =-)
Thanks Beth, I linked up :)
DeleteVery nice!
ReplyDeleteSo cute! I love that you personalized each one; so special! You're kids will love these when they are older! Thanks for sharing on Saturday Show & Tell at Cheerios and Lattes last weekend! We love having you join us and hope to see you again this weekend! See you soon!
ReplyDeleteMackenzie :)
Yes they were a big hit. I have a couple more to make this Christmas.
DeleteOh my goodness is this ever adorable! Stop on over if you have a chance and link this up in our Crafty Showcase. We also have a Christmas in July Challenge going. I hope you join in the fun!
ReplyDeleteps- you can also add your saturday grandparents link up post.
Susie @Bowdabra
http://bowdabrablog.com/2012/07/07/saturday-showcase-craft-projects-9/
You are amazing! Any child or parent would love these! I bet they loved their Christmas gifts!
ReplyDeleteThanks! Not so amazing though, they are easy to make.
DeleteThose are really, really cute! And the grand kids could use them with their own children some day to track how they compare in height at the same age.
ReplyDeleteI hadn't thought about them being passed down, what a fun thought!
DeleteThese are awesome. I am so impressed, Connie. I must, must, MUST remember this for the next gifts for my grandsons. Love 'em!
ReplyDeleteThanks! I will be doing anouther tutorial one day because I am making more. Also one for myself with all the kids measurements on it. I'm way behind on that one.
Delete