
Christmas 2009 I made the grandkids Growth Chart Boards for
gifts. (You may want to see that tutorial first if you decide to make one). I decided I needed one of my own. I wanted my growth chart board to look old, with crackled paint as if it had been handed down from the family farm rather than a slick new looking one. We made our growth chart board six foot six inches tall because
we have some really tall family members and there’s a chance some of the kids
will grow that tall.

We used a one by six pine board that was six foot long, and sanded it
lightly (hubby sanded the edges off too). Then I painted it dark grey. When it was dry I mixed
white glue, the cheap washable kids white glue, with water about half and half.
The glue mix I carefully poured onto the board and with the palm of my hand I
smoothed it out. I tried not to go back over areas covered with glue as this
technique works best if you can apply it with one swipe.

When that was dry I took house paint (it was a satin finish but I think any finish will work) and mixed it with water, about two parts paint to one part water. Again I attempted to paint it on without going back over painted areas too much.
Reworking painted areas (with
the glue or paint) will cause it to crackle differently or not at all. It was
fun to watch the crackling begin! It happens right away.

I loved the way my board looked but once dry I added another thinned coat of paint to it because it was a little too rustic with all the crackling.

We
would be hanging the Growth Board up from the floor at six inches so starting
at six inches; I measured out one foot, one inch, and one half inch
measurements down one side. I chose to only mark each one foot increment with a number. Using a stencil I outlined each number. I used
dark grey craft acrylic paint to mark the lines and fill in the stenciled numbers.
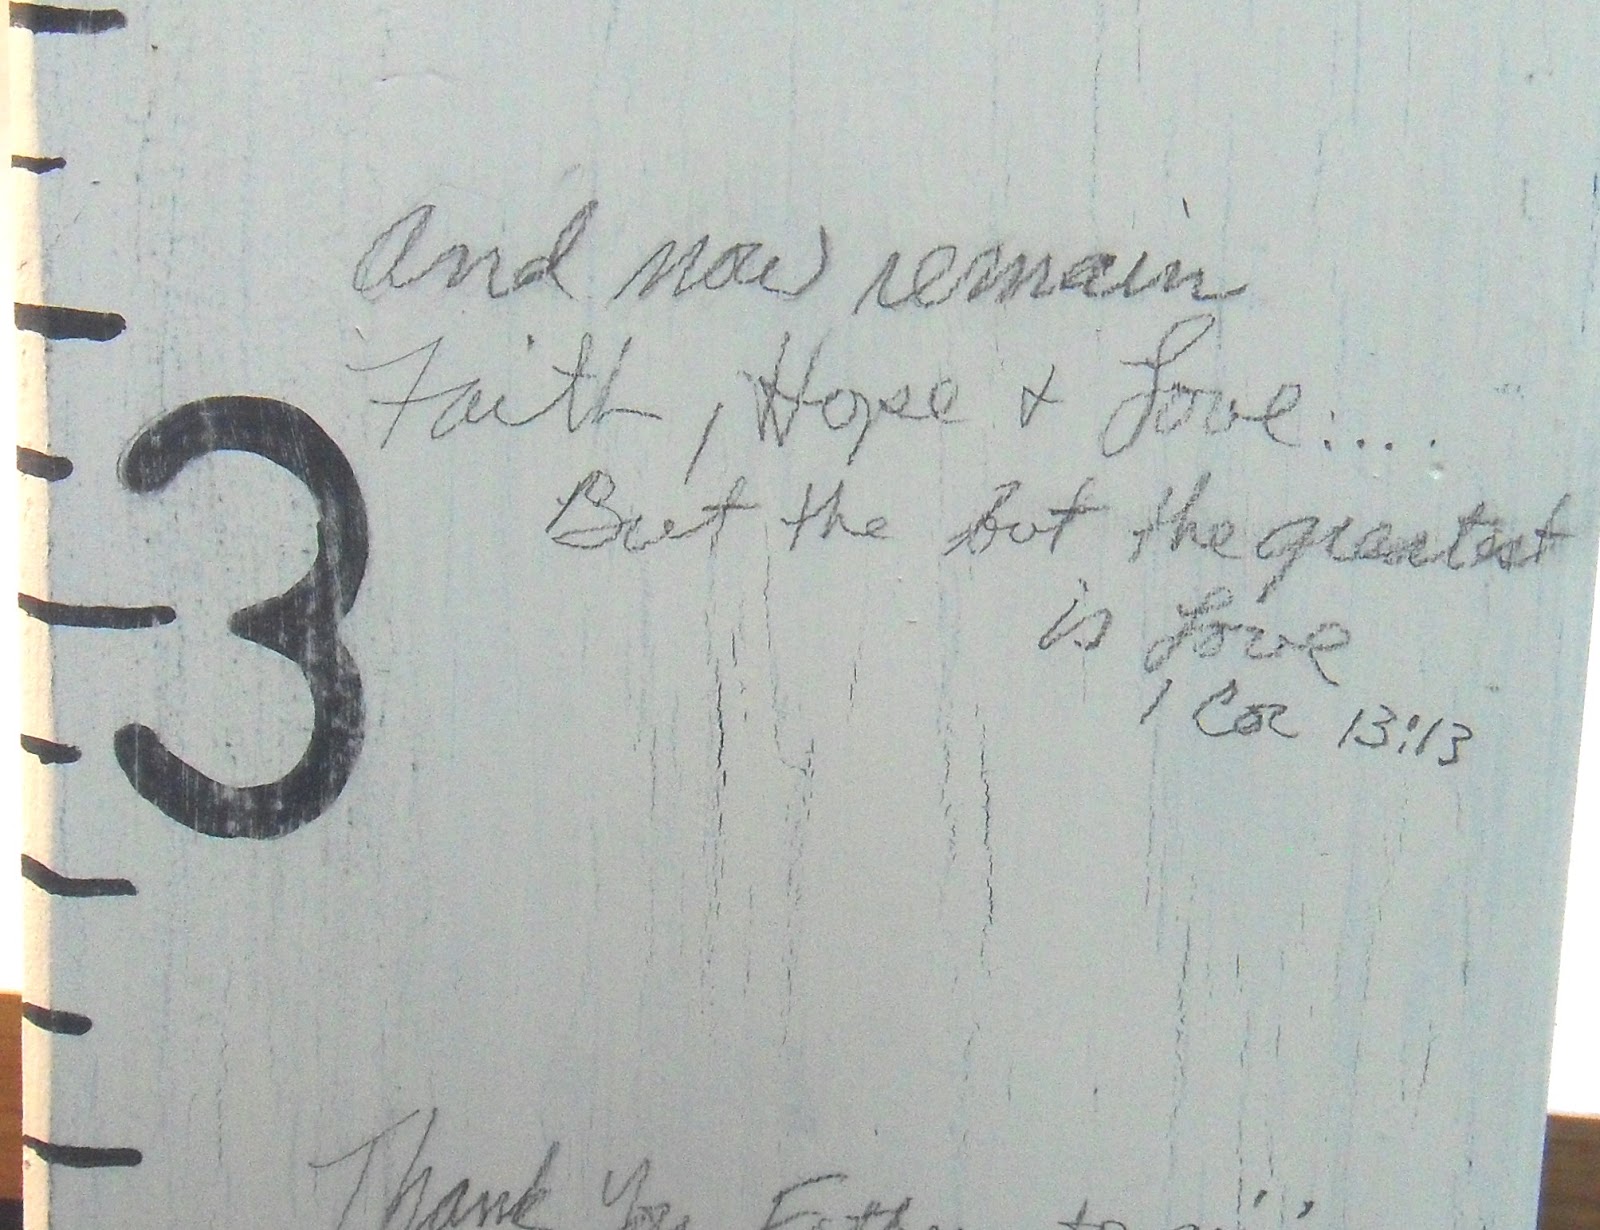
I used a pencil to write quotes, prayers, and scriptures all down the board.


Then to add to the aged handed down look I painted over the writing allowing it to peek through in places. Once I had it painted to my satisfaction I let it dry for the rest of the day. Once dry I used sand paper around the edges and over the painted numbers
and marks. Finally I use a thin coat of acrylic sealer to protect it all.

The man of the house added a hanger to the back at exactly one inch
down from the top. On the back I created a family tree of sorts starting with myself and my husband. I wrote out full names and birth dates of all our kids and their spouses. Then I wrote all the kids full names and birth dates under their mom and dad's names on the back. To hang we measured up from the floor to six feet six inches
and then back down one inch to account for the space to the hanger.

It didn’t
take long to start marking up the Chart with kids measurements. I started off
marking them with permanent black marker but I think that is too intense of a
color and I only use pens or pencils now.

Itty Bitty saw all the kids backing
up to the board for their measurements and tried to mimicked them but sat down immediately instead.
I eventually got her measurement too.

I am happy with how it turned out, and we will enjoy using it for many years to come. Then perhaps it will be passed down for future generations. It looks like it is years old already, I like that idea.
I love this. And I think it's especially great that families can take it wherever they move to, because you know darn well they won't be in the same house as the kids grow to the top. Will be adding this to my Christmas to-do list, for it will be a homemade Christmas this year, for sure.
ReplyDelete